The Ultimate Guide to Worm Composting/Vermicomposting
What is Worm Composting
Worm composting, also known as vermicomposting, is a method of using worms to break down organic waste into nutrient-rich compost. This process is an efficient, sustainable way to recycle kitchen scraps while producing high-quality soil amendments for gardening. Whether you are an urban dweller with limited space or a gardener looking to enhance soil fertility, worm composting offers an easy and eco-friendly solution. According to the Environmental Protection Agency (EPA), food waste makes up about 24% of municipal solid waste, and worm composting can significantly reduce this burden by recycling organic materials into beneficial compost.
Benefits of Worm Composting
Worm composting provides numerous benefits. It significantly reduces household waste by diverting food scraps from landfills, where they would otherwise contribute to methane emissions—a greenhouse gas 25 times more potent than carbon dioxide. The resulting worm castings are packed with essential elements like nitrogen, phosphorus, and potassium, which improve soil health and enhance plant growth. Studies have shown that worm castings contain five times more nitrogen, seven times more phosphorus, and eleven times more potassium than typical garden soil. Additionally, the microbial activity in worm compost boosts plant disease resistance and soil fertility. A worm bin requires minimal upkeep and, when properly maintained, does not produce unpleasant odors or attract pests.
Choosing the Right Worms
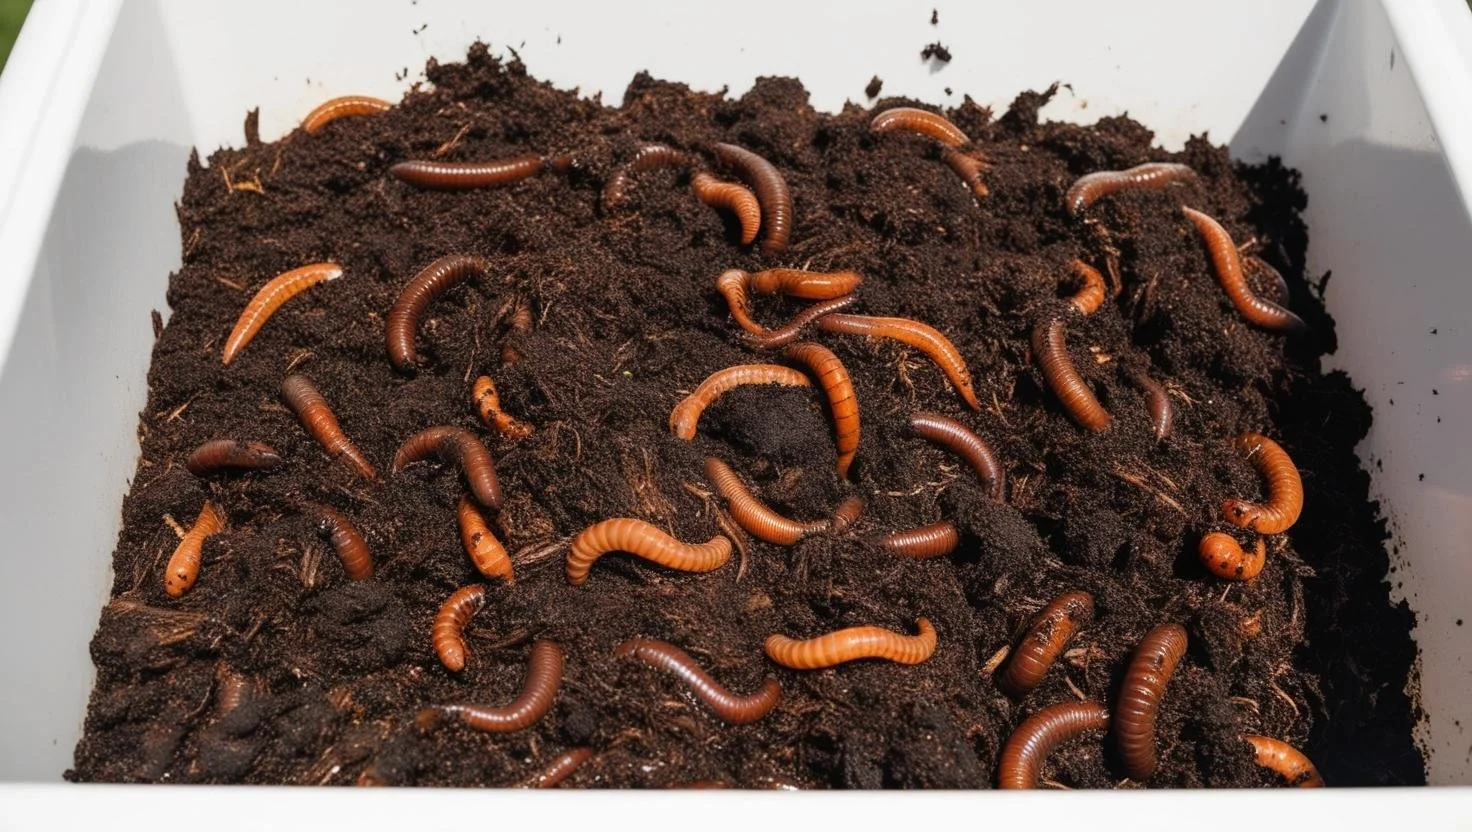
To start worm composting, you need the right type of worms. Not all worms are suitable for composting, and the most commonly used species is Eisenia fetida, also known as the red wiggler. These worms thrive in organic matter, reproduce quickly, and can consume up to half their body weight in food per day. Other suitable worm species include Eisenia andrei, Perionyx excavatus (Indian blue worms), and Dendrobaena veneta (European nightcrawlers), though red wigglers are the most efficient for composting. A pound of red wigglers (about 1,000 worms) can process approximately one-half pound of food waste daily, making them an excellent choice for home composting systems.
Buy Now - Our #1 pick for composting worms
Selecting a Worm Bin
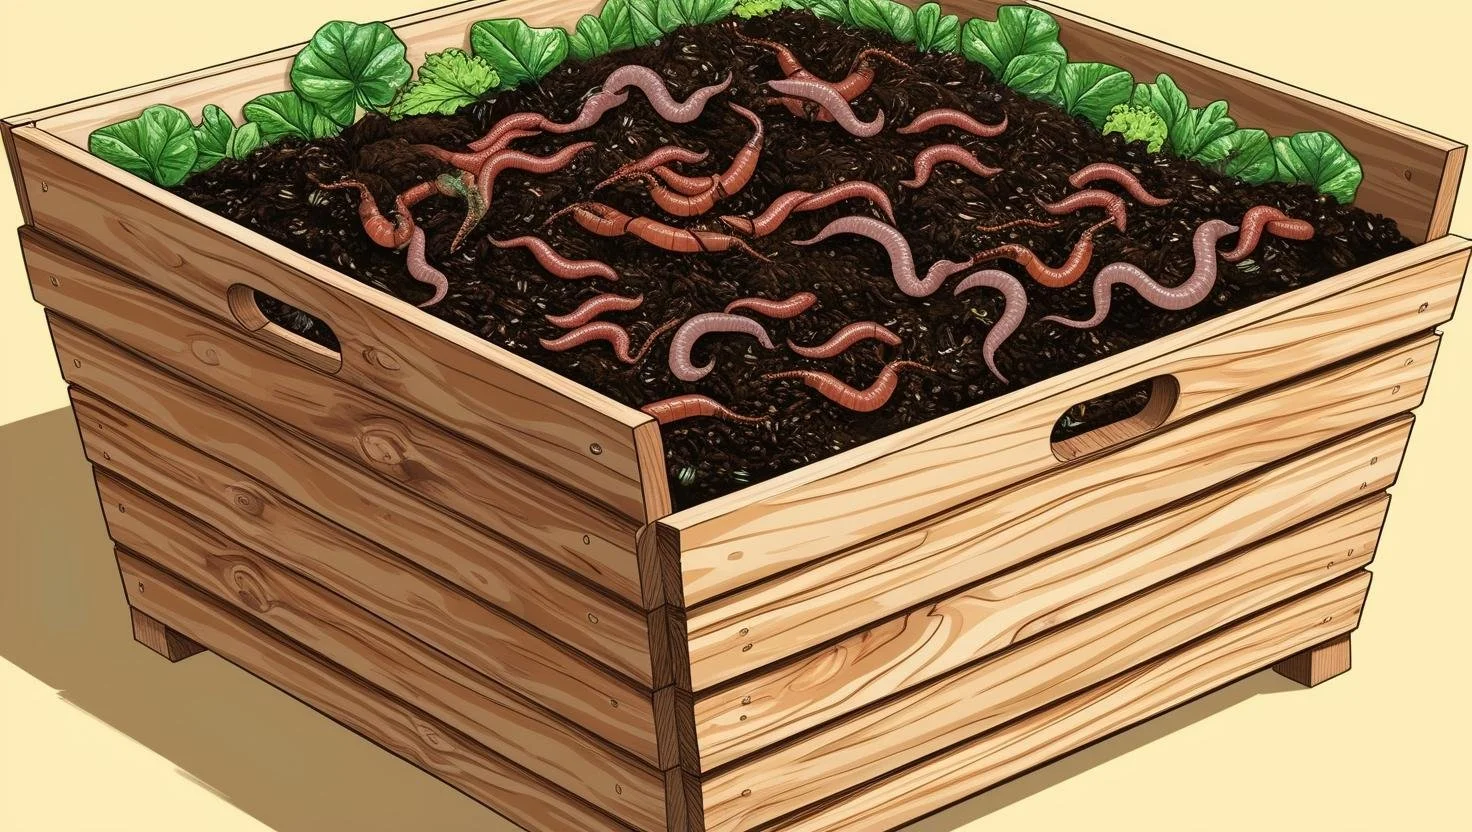
A successful worm composting system starts with selecting the right bin. The bin should provide proper ventilation, drainage, and sufficient space for the worms to thrive. Common types of worm bins include plastic storage bins, wooden boxes, and stackable systems.
Plastic storage bins are affordable and easy to modify.
Wooden boxes are natural and breathable but may degrade over time.
Stackable systems allow worms to migrate upward as composting progresses, making harvesting easier.
The size of the bin should be based on the amount of waste you generate, with a general rule of one square foot of surface area per pound of food waste per week. Studies suggest that a well-maintained worm bin can reduce household food waste by up to 30%. Proper ventilation and drainage are crucial; drill small holes in the bin’s lid and sides for airflow and drainage holes at the bottom to prevent moisture buildup. Elevate the bin slightly and place a tray underneath to collect leachate (liquid runoff), which can be diluted and used as a nutrient-rich fertilizer.
Buy Now - Our #1 Pick for Starter Worm Bin
Preparing the Bedding
Bedding material provides a habitat for worms and helps maintain moisture levels. Suitable bedding materials include:
Shredded newspaper
Cardboard
Coconut coir
Peat moss
Aged compost
Before adding worms, moisten the bedding until it feels like a damp sponge. Once the bedding is prepared, gently introduce the worms into the bin. A standard household bin typically requires about 1,000 red wigglers (approximately one pound) to start. Worms thrive best in bedding with a pH between 6.0 and 7.0, ensuring a neutral and balanced environment.
Our #1 Pick for Worm Bedding
Feeding Your Worms
Feeding your worms properly is essential for a thriving compost system. Worms thrive on a variety of organic waste, including:
Vegetable scraps
Fruit peels (with minimal citrus)
Coffee grounds and filters
Tea bags (non-plastic)
Crushed eggshells
Shredded paper
However, certain foods should be avoided, such as meat, fish, dairy, oily or greasy foods, spicy or salty foods, excessive citrus, and processed or sugary foods. To maintain a balanced system, start with small amounts of food, chop scraps into smaller pieces for faster decomposition, and bury food under the bedding to minimize odors and fruit flies. Red wigglers can consume up to half their body weight in food each day, so a pound of worms can process about three to four pounds of food waste per week. Monitor consumption and adjust feeding as needed.
Maintaining a Healthy Worm Bin
Maintaining a healthy worm bin requires attention to moisture, temperature, and aeration.
Moisture: The moisture level should be around 60-80%. If the bin is too dry, add water; if too wet, add dry bedding.
Temperature: The ideal range is between 55-77°F (13-25°C) to prevent worms from overheating or freezing. Worms can tolerate lower temperatures but may become inactive below 50°F.
Aeration: Fluff the bedding occasionally to introduce oxygen and avoid overcompacting, which can lead to anaerobic conditions and odors.
Common problems include:
Bad odors caused by overfeeding or excess moisture (remedied by adding dry bedding and reducing feeding).
Pests like fruit flies and mites (minimized by avoiding overripe fruit and keeping the lid closed).
Worms attempting to escape, which may indicate unfavorable conditions such as excessive moisture or lack of oxygen.
Harvesting Worm Castings
After 2-6 months, worm castings (compost) will be ready for harvesting. Several methods can be used to separate worms from finished compost:
Side-to-side migration: Fresh food is placed on one side of the bin, encouraging worms to migrate so the other side can be harvested.
Light exposure method: Compost is dumped onto a tarp in bright light, causing worms to burrow down so the top layers can be scooped off.
Screening: Using a mesh screen to sift out worms and unprocessed material.
A study from North Carolina State University found that soil enriched with worm castings improved plant growth by 25% compared to traditional compost. The compost is rich in beneficial bacteria, humic acids, and plant-available nutrients.
Using Worm Compost
Worm compost can be used in various ways to benefit plants and soil:
Garden beds: Mix into the soil to improve fertility.
Top dressing: Apply around plants to boost nutrients.
Potting mix: Blend with soil for container gardening.
Worm tea: A liquid fertilizer made by steeping worm castings in water.
To make worm tea, add one cup of worm castings to a gallon of water, let it sit for 24 hours while stirring occasionally, then strain and use it as a foliar spray or soil drench to enhance plant growth. Studies show that worm tea can increase plant resistance to diseases by 50% due to its high microbial activity.
Scaling Up Your Worm Composting
For those interested in expanding their worm composting efforts, options include:
Using larger bins or multiple units.
Establishing outdoor worm pits or windrows for farms and large gardens.
Composting for profit by selling worm castings, worm tea, or live worms. The global market for worm castings is projected to grow significantly, with increased demand for organic fertilizers.
Worm composting is an effective, low-maintenance way to turn kitchen scraps into valuable soil amendments. By following the steps outlined in this guide, you can establish a successful worm bin and reap the benefits of nutrient-rich compost for your plants and garden. Whether for personal use or larger-scale operations, vermicomposting is an excellent practice for sustainable waste management and soil health.
Check out how Vermicomposting can be a great option for cold climates!